Slice Roof Revit
Split A Roof Or Structural Floor Revit Products 2018 Autodesk Knowledge Network

About Editing Floor And Roof Shape Revit Products 2019 Autodesk Knowledge Network
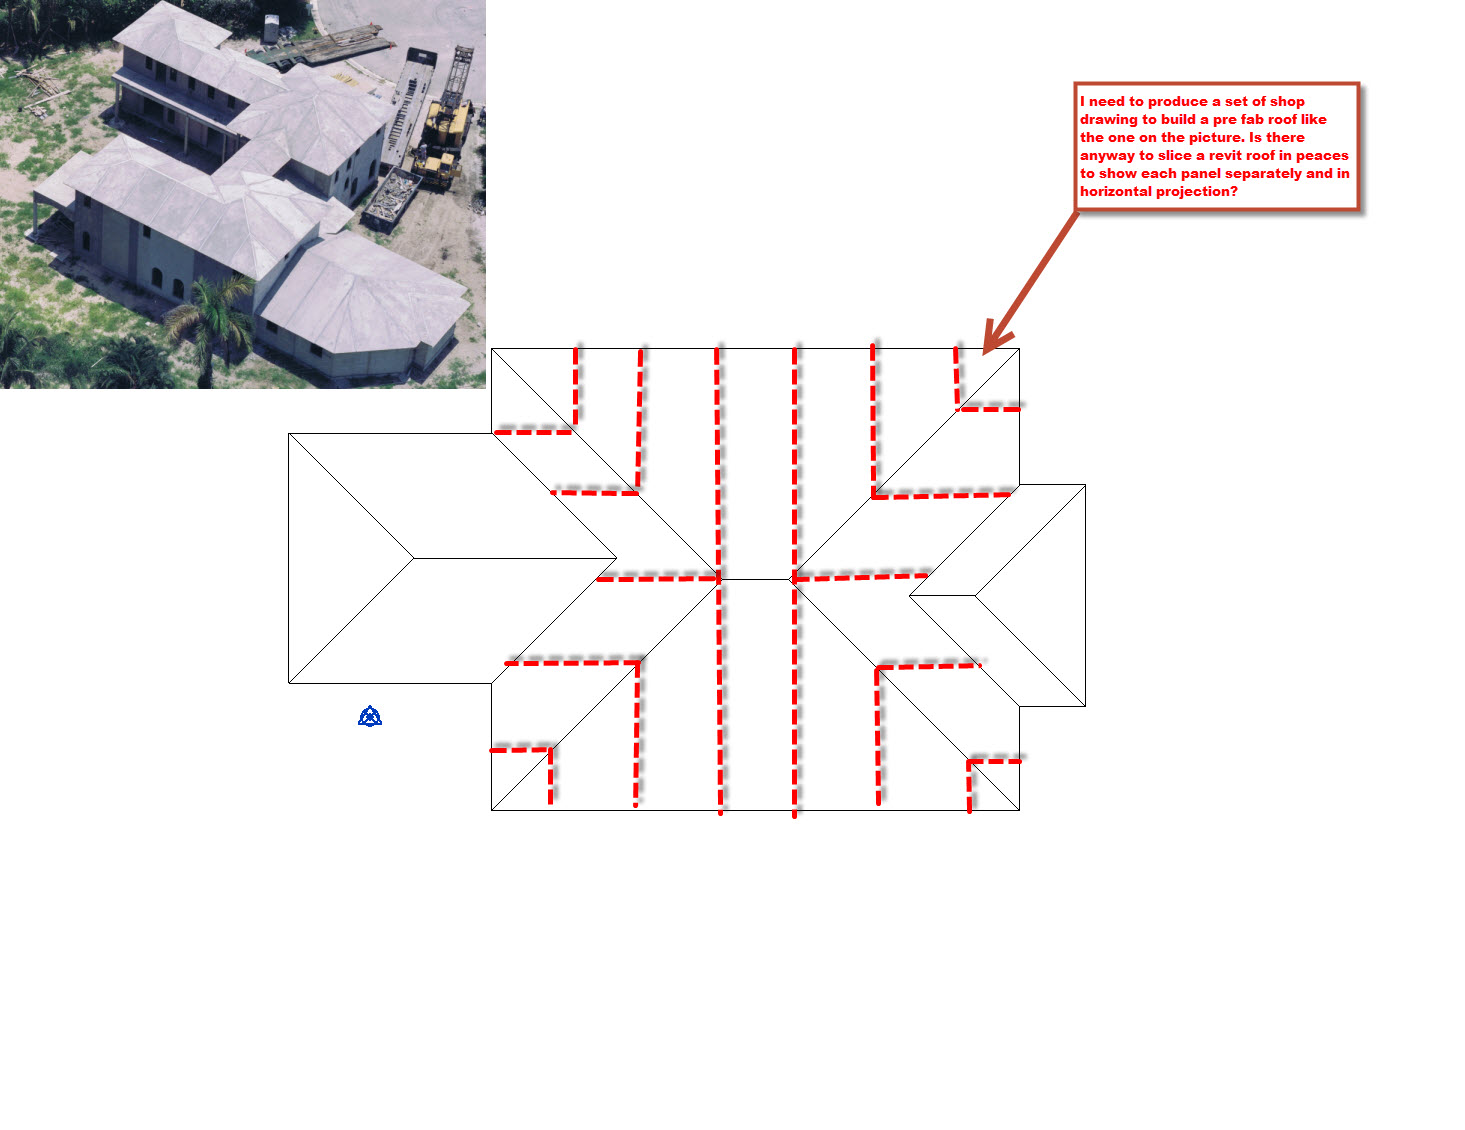
Solved Roof Spliced In Pieces Autodesk Community Revit Products

Cut Profile Youtube

Revit 07 13 Add Split Line Youtube

How Do I Get A 90 Degree Roof Edge On A Shed Roof Autodesk Community Revit Products
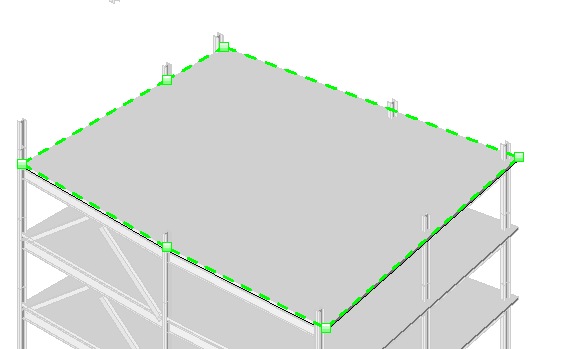
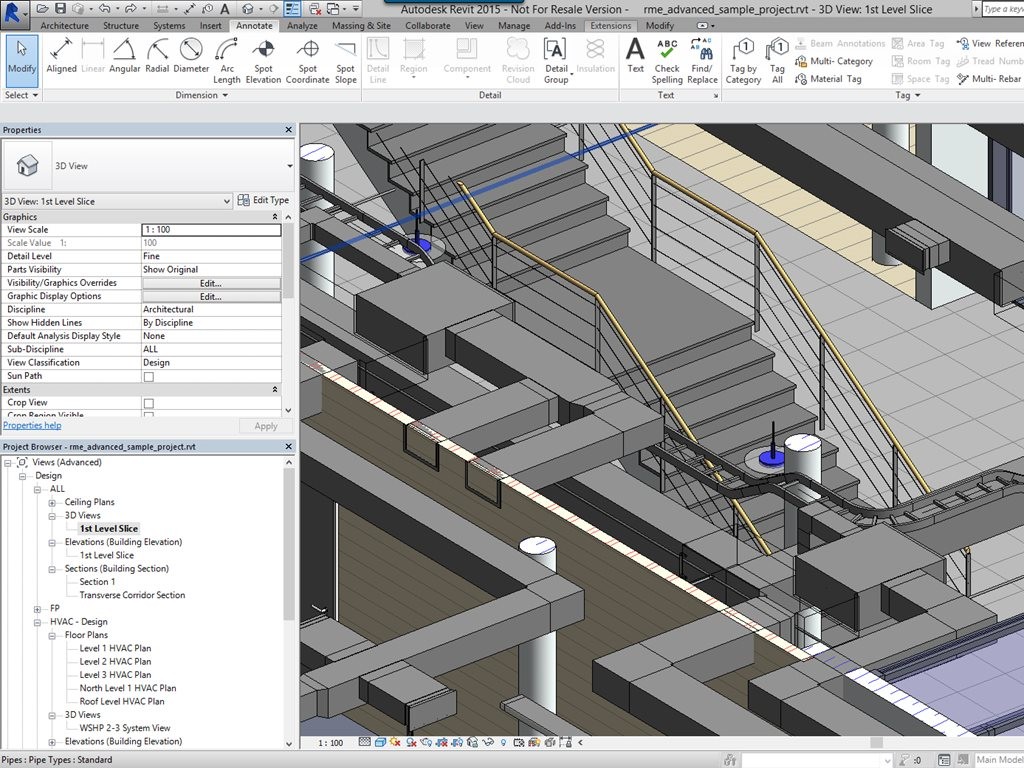
Click modify floors tabshape editing paneladd split line.
Slice roof revit.

9 Tips To Understand Revit Roofs Revit Pure
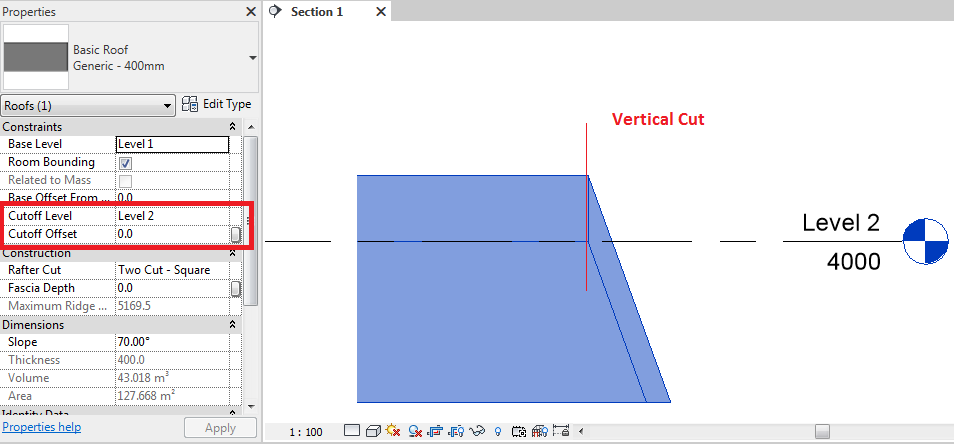
Cutoff Level Roof Behavior In Revit Revit Products 2018 Autodesk Knowledge Network
How To Cut A Hole To A Roof Revit Lt 2018 Autodesk Knowledge Network
21 Revit Keyboard Shortcuts Every Architect Should Know Architecture Design

Revit Splitface And Paint Command A How To Guide Youtube
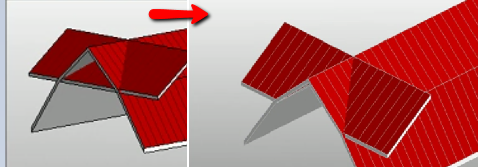
Revitcity Com Joining Roofs

How To Create A Thatch Roof In Revit Micrographics Thatched Roof Thatch Roof

Revit Roof Cleaning Up Overlapping Roofs Youtube

How To Join Split Walls In Revit Using Smartwalls Youtube

Autodesk Revit Creating And Dividing Parts Youtube
Split Faces Revit Products 2018 Autodesk Knowledge Network
Revitcity Com Split Face Tool On Curved Extrusion

Repeat And Divide Prt Iii Slats And Continuous Slices Youtube

Revit Adding A Curtain Wall On A Floor Or Roof Cadtechseminars Com Youtube

Roof Diseno De Teja Courtain Wall Part 2 Roof Tiles Roofing Roof

26 Using The Shape Editing Tools To Create A Flat Roof Revit Flat Roof Roof Roof Sealant
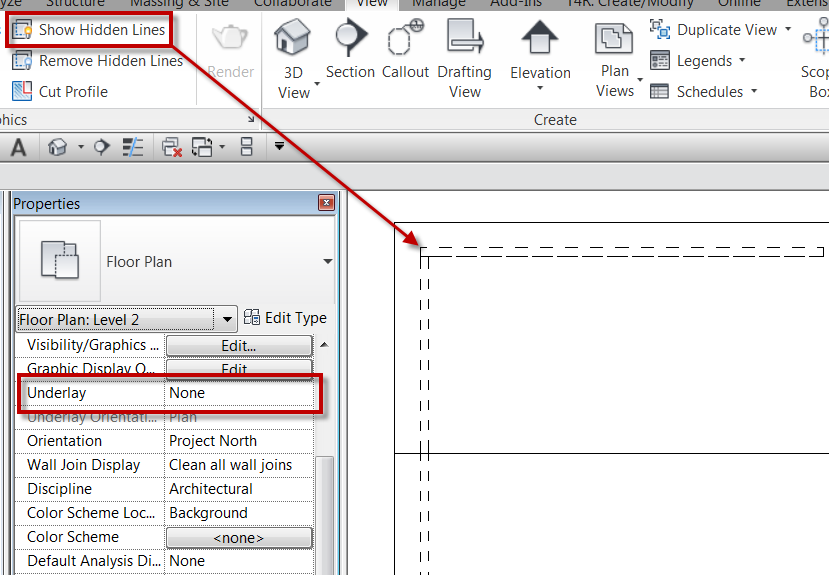
Show Walls Below Roof Bd Mackey Consulting The Revit Geek Blog
Information About Home Design Revit House Plans
Https Encrypted Tbn0 Gstatic Com Images Q Tbn 3aand9gctcrsiemhqxu7ihynxd5u9pmbjblms Hnrducwiluc Usqp Cau

Revit Single Storey Intermediate 16 Roof Joining Tool Revit Architecture Roof Tools

Revit Cut Geometry Tool Youtube

Revit Slab Cut By Void Family A How To Guide Youtube

Revit Tips Spanish Roof Adaptive Insane Version Revit Tutorial Autocad Revit Roof

How To Do Wall Tiling In Revit Using The Paint Command Wall Tiles Revit Tutorial Wall
Source : pinterest.com
